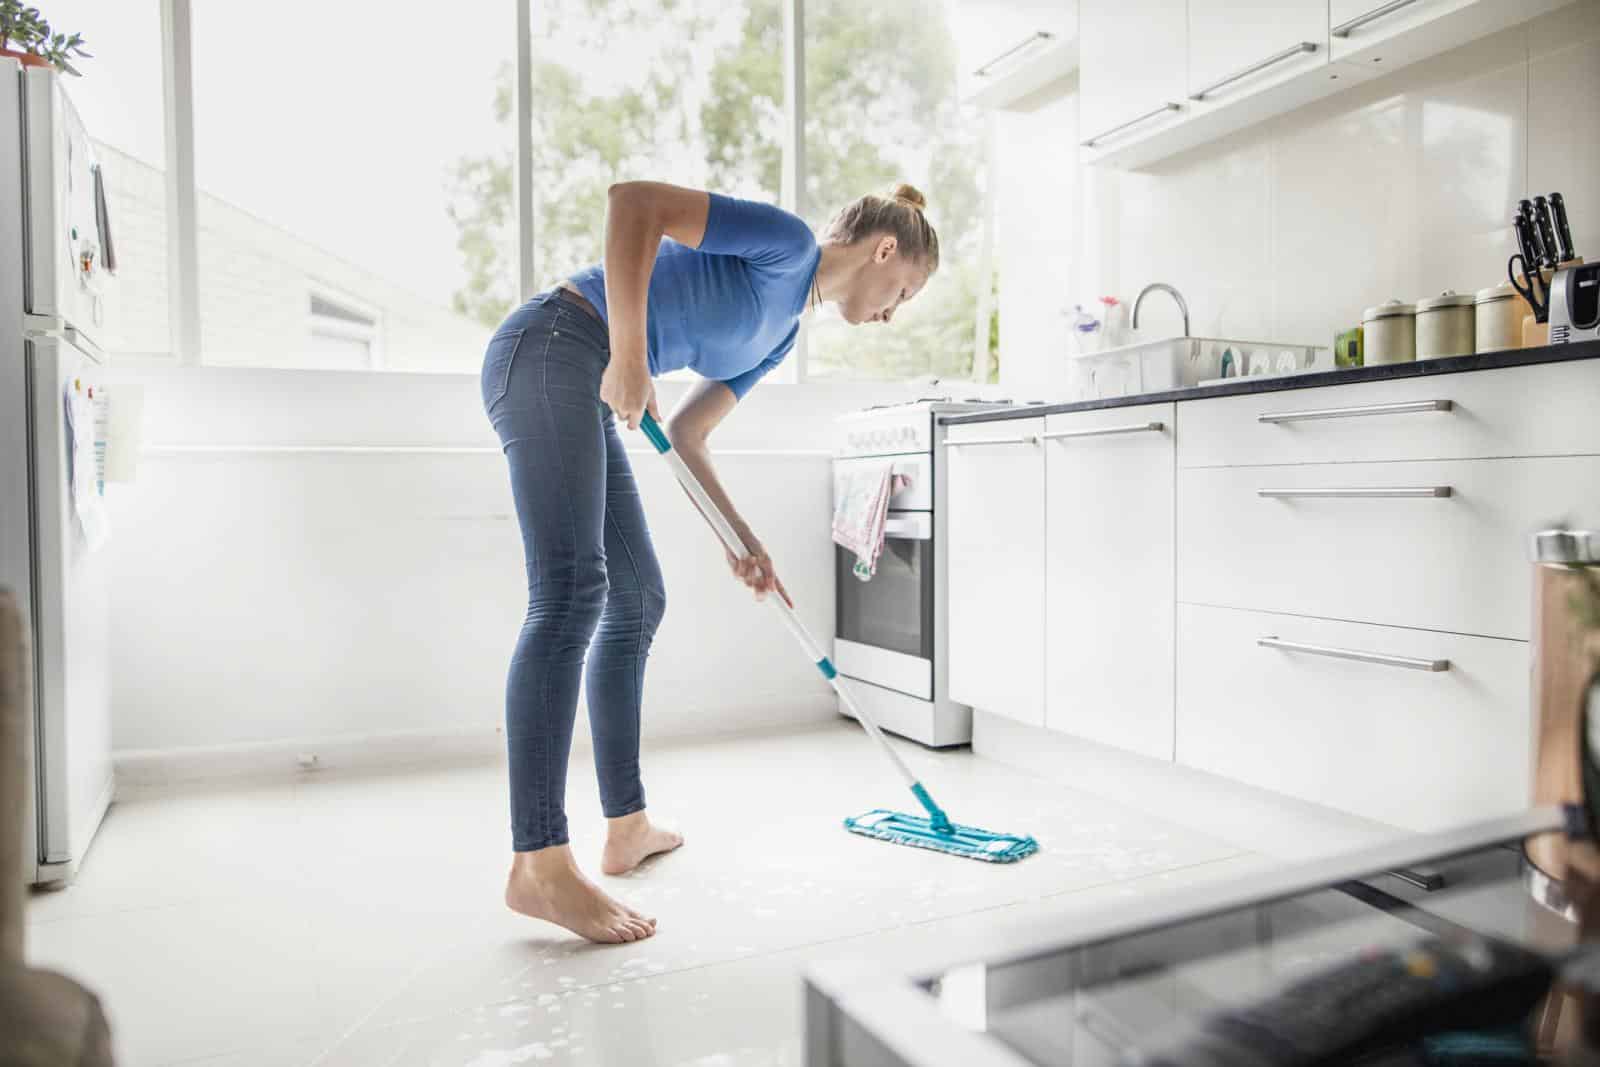
1. SWEEP VAC MOP
That’s right before doing anything else, start with a simple sweep, vac & mop (Actually it’s not really simple but anyways it’s the first step). This is very important because as negligible as it may seem dirt which contains sand and grit will remove the shine of your floor and may scratch it. So, make sure you clean it quite thoroughly. It is also advisable to carry on doing it at least once a week even after a proper tile cleaning so that you can maintain that nice new look.

2. Clean the grout
Time to get down on your arms and legs & get dirty!!!! (is that offensive? I really hope it’s not ). Anyways, this is one of the hardest parts of the whole process if you hate physical activities, since you’ll have to get down on your knees and rub out that dirt which is in between the space of your tiles with the grout. Well there are certain types of equipment that you can use to do it like a long-handled grout brush, but you will need to get on the floor to clean those really tight ones. Use something like a new toothbrush or something with strong unbent bristles or buy one of the professional tile cleaning brushes. However, before cleaning apply some professional tile grout removing chemicals (follow the usage instructions on the bottle) to the tile help remove the dirt. Make sure that the chemical used is strong since that will make your job easy but also nature friendly and less harmful for your skin. If parts of the grout is really difficult to remove you can consider a tile whitener or a grout paint.
If you don’t like chemicals or can’t find any good ones you can try a paste made by mixing baking soda and vinegar which would also work quite well.
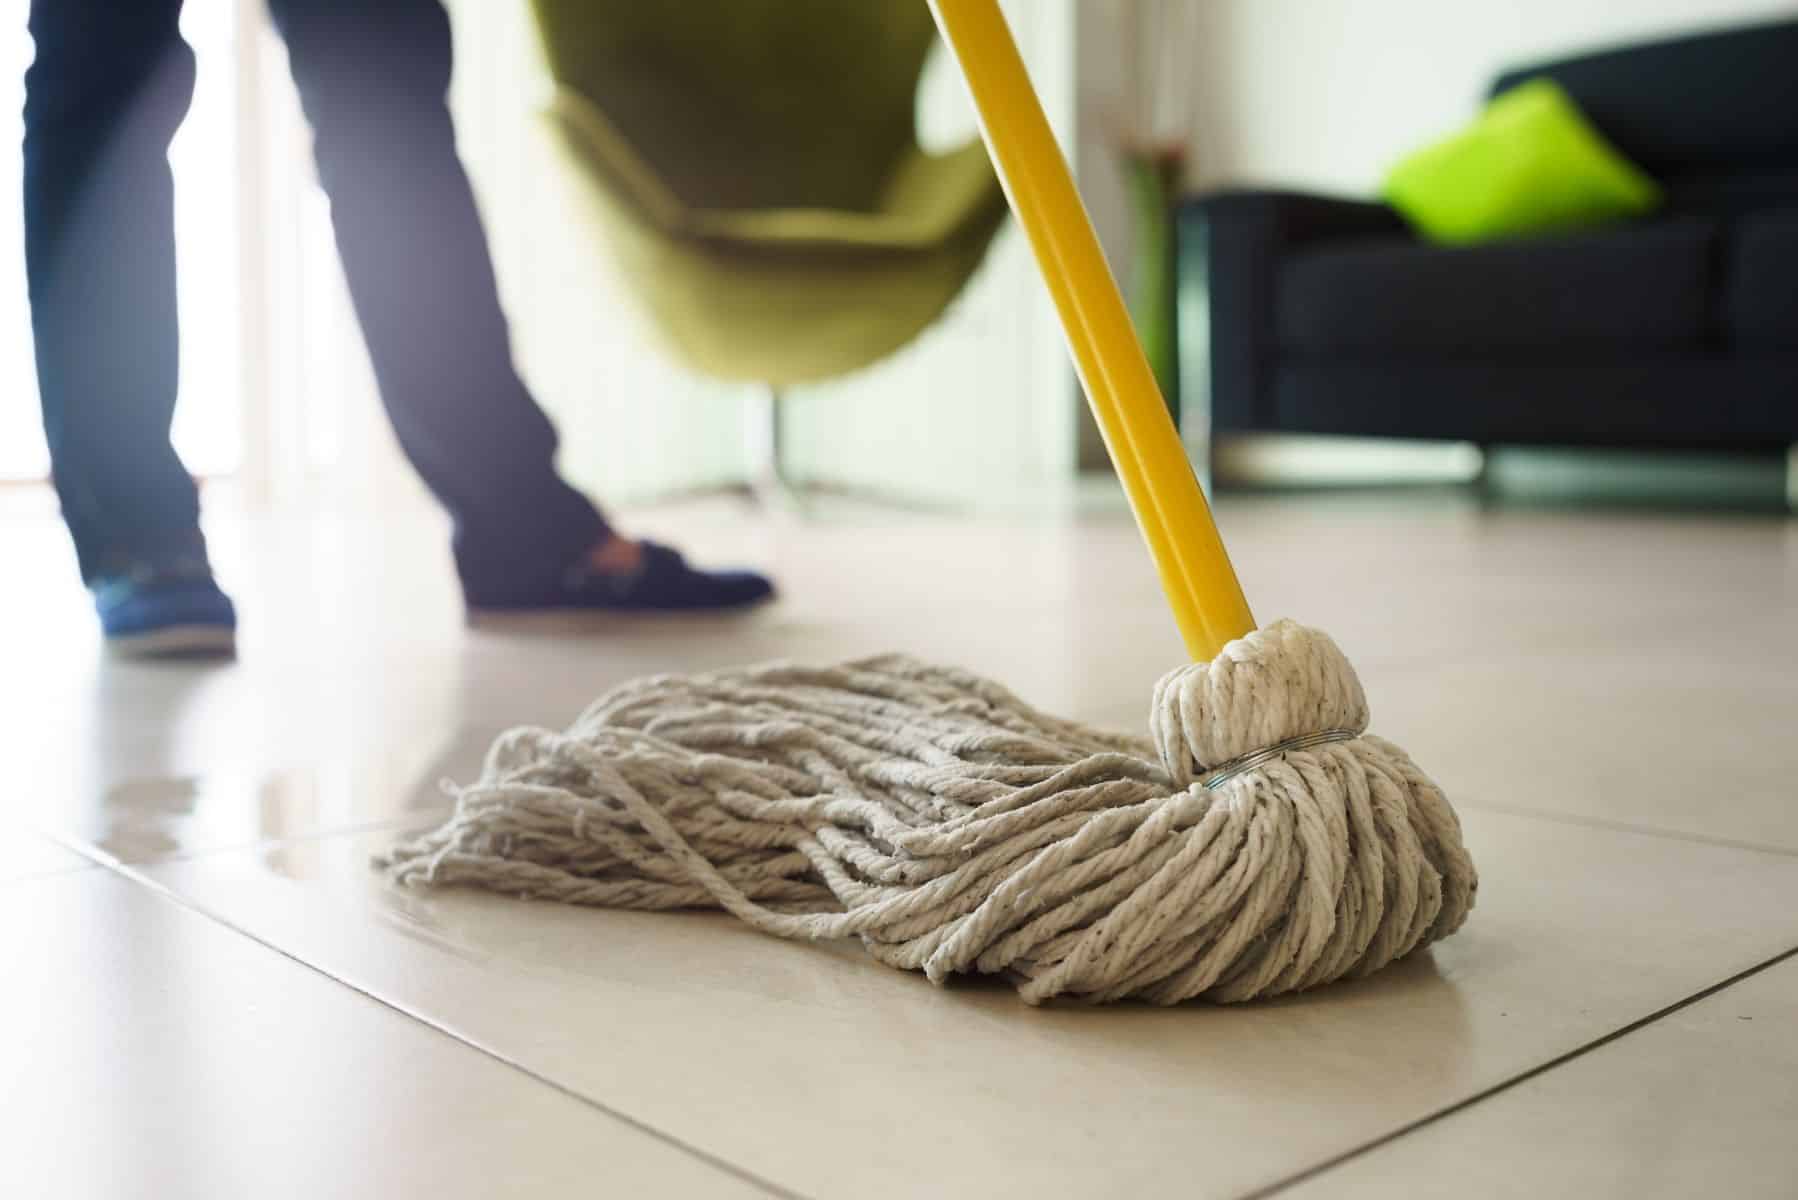
3. Now lets clean the tile
Finally, the moment you were waiting for!! Cleaning the tile!!! . First you need to get one professional cleaning agent. Remember just as above you need to look into the strength and others of the agent and also look into if that cleaning chemical will work for the type of tile that you have. Then you’ll need to follow the instructions in the package and dilute the chemical with accordingly. Then mop the floor with this solution. Note NEVER use a SPONGE mop!! It may feel more convenient but remember it wont clean well since the sponge will absorb all the dirt and you will have to mop with it over and over again. So just use a good old-fashioned rag or micro fiber mop. Also remember to change the dirty water quite often and keep on mixing and diluting the cleaning chemical. Finally mop with another dry mop or a towel to buff and dry the floor and give a great shine.
Again, if you are into all natural your can make a cleaner by mixing lemon juice and white vinegar with hot water. Just use the same procedure as above and you can get a quite bright shine. However, for very dirty floors this method might not really work.
4. Protect the tile
You might not know about this but tiles require protection. You should use a type of waterproof sealer to do this. Remember to check if the sealer you have works with the tile in your home buy checking the label. This is especially important if you have a glazed tile since a a lot of sealers wont work with glazed tiles.
Conclusion
Finally, the best way to maintain & protect all tiles is to regularly clean them. This will ensure that the shine of your tile will last for a long time.
Nevertheless, cleaning your tiles could be a very difficult tasks and that’s why hiring a tile cleaner would be quite ideal for the season. However, you’ll need a tile cleaner that does a good job, isreliable, fast & cost less. We at Tile Solution Australia (TSA) is ready to help you with this with our best quality for the best price guarantee. So, call us now on 0487 878 826 or email us on enquiries@tilesolution.net.au. Also check our website www.tilesolution.net.au

